


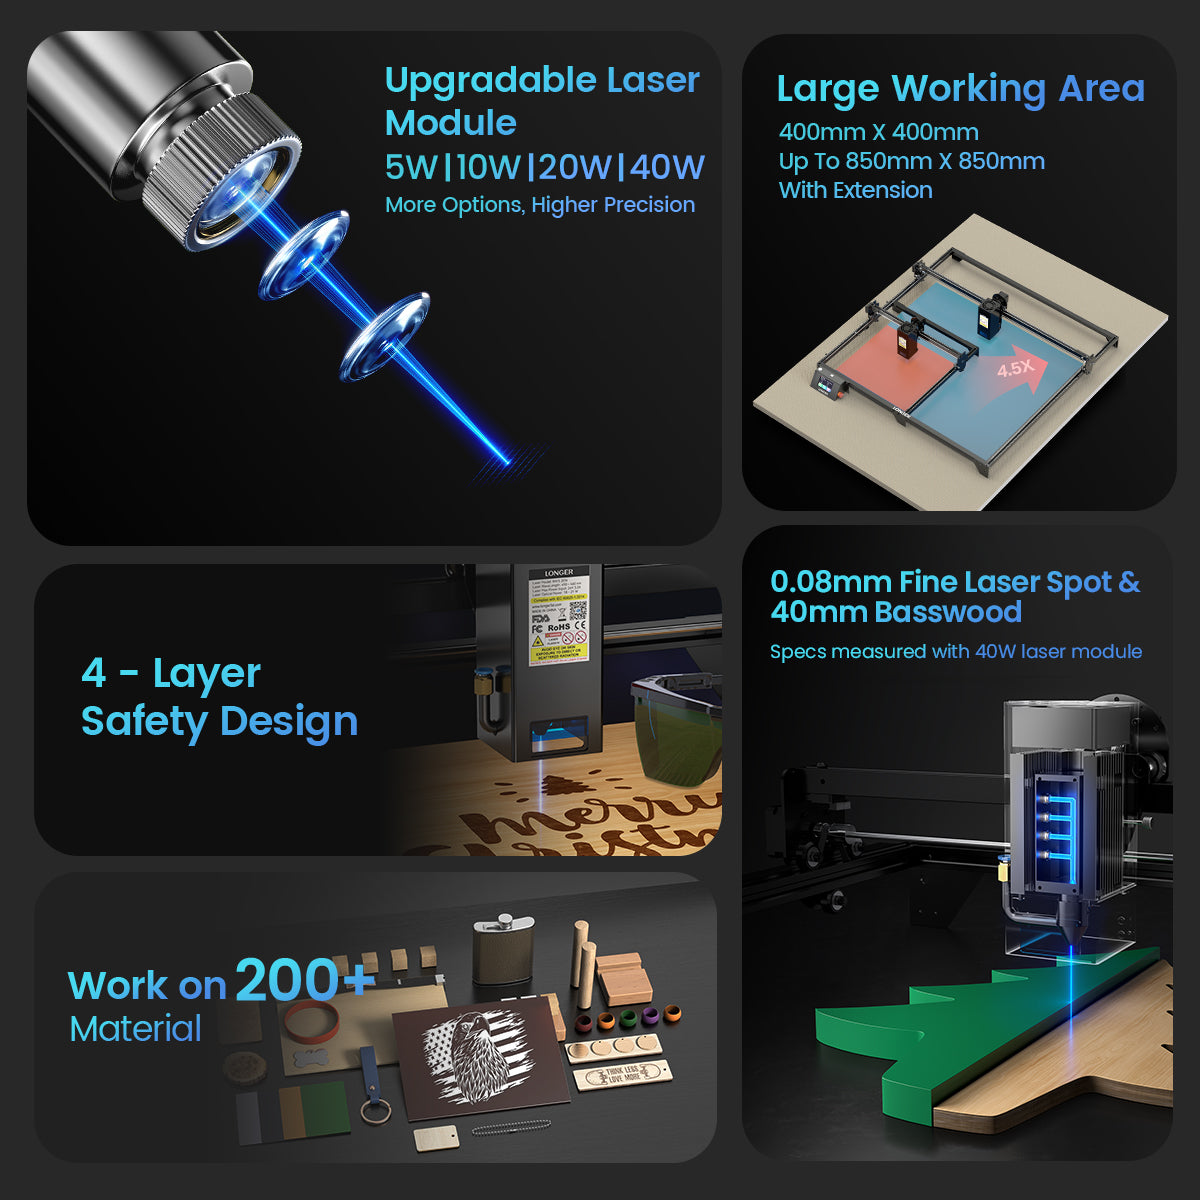
Longer Ray5 Laser Engraver 5W/10W/20W
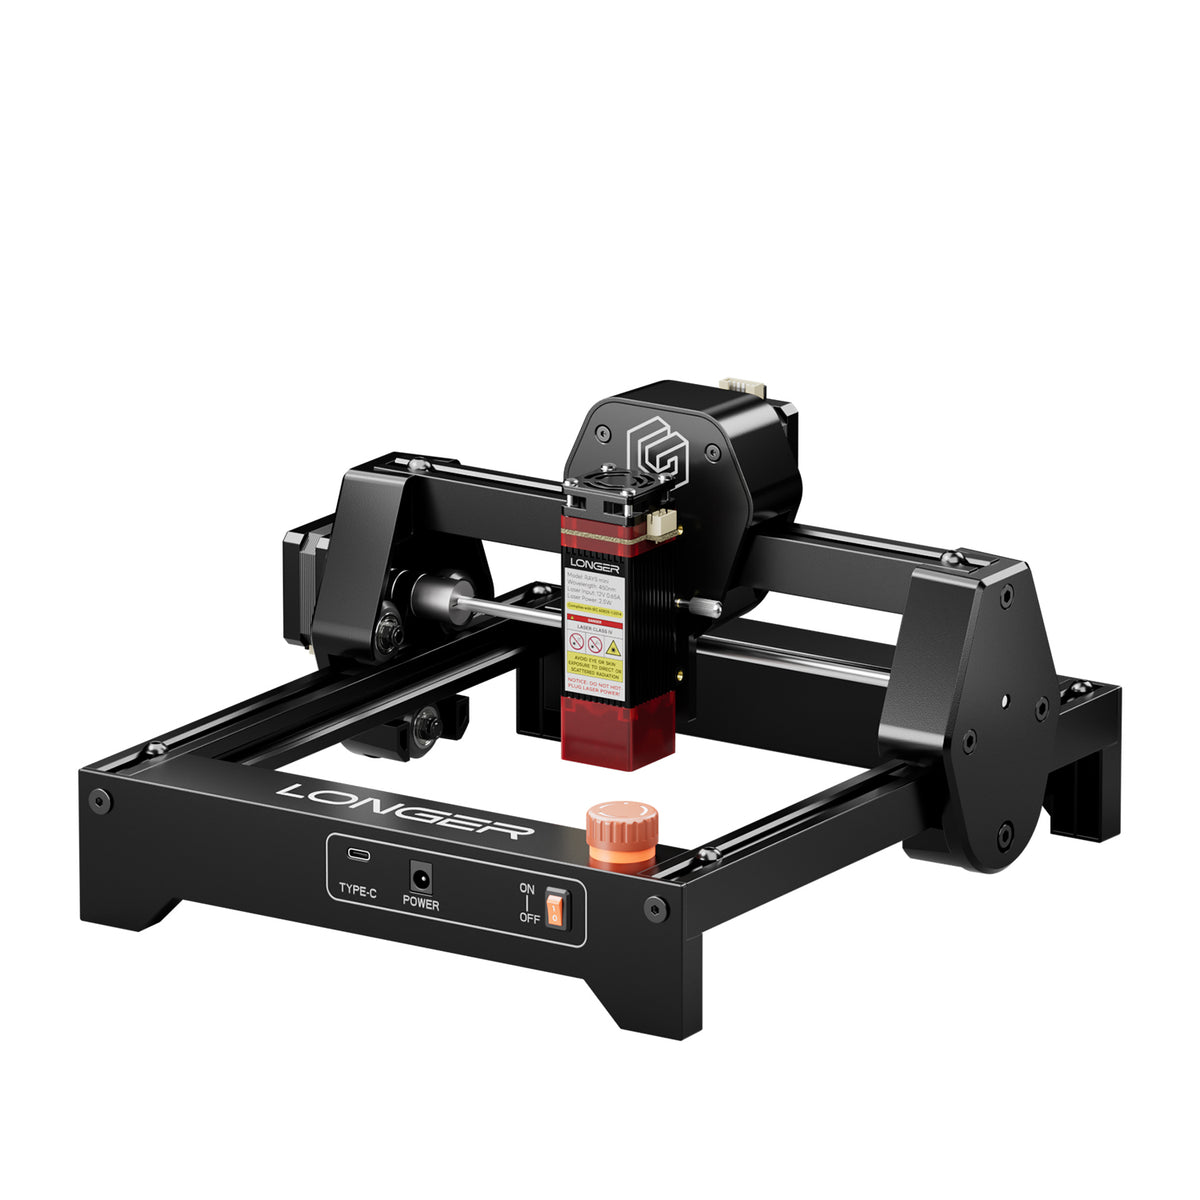


Longer Ray5 mini Laser Engraver


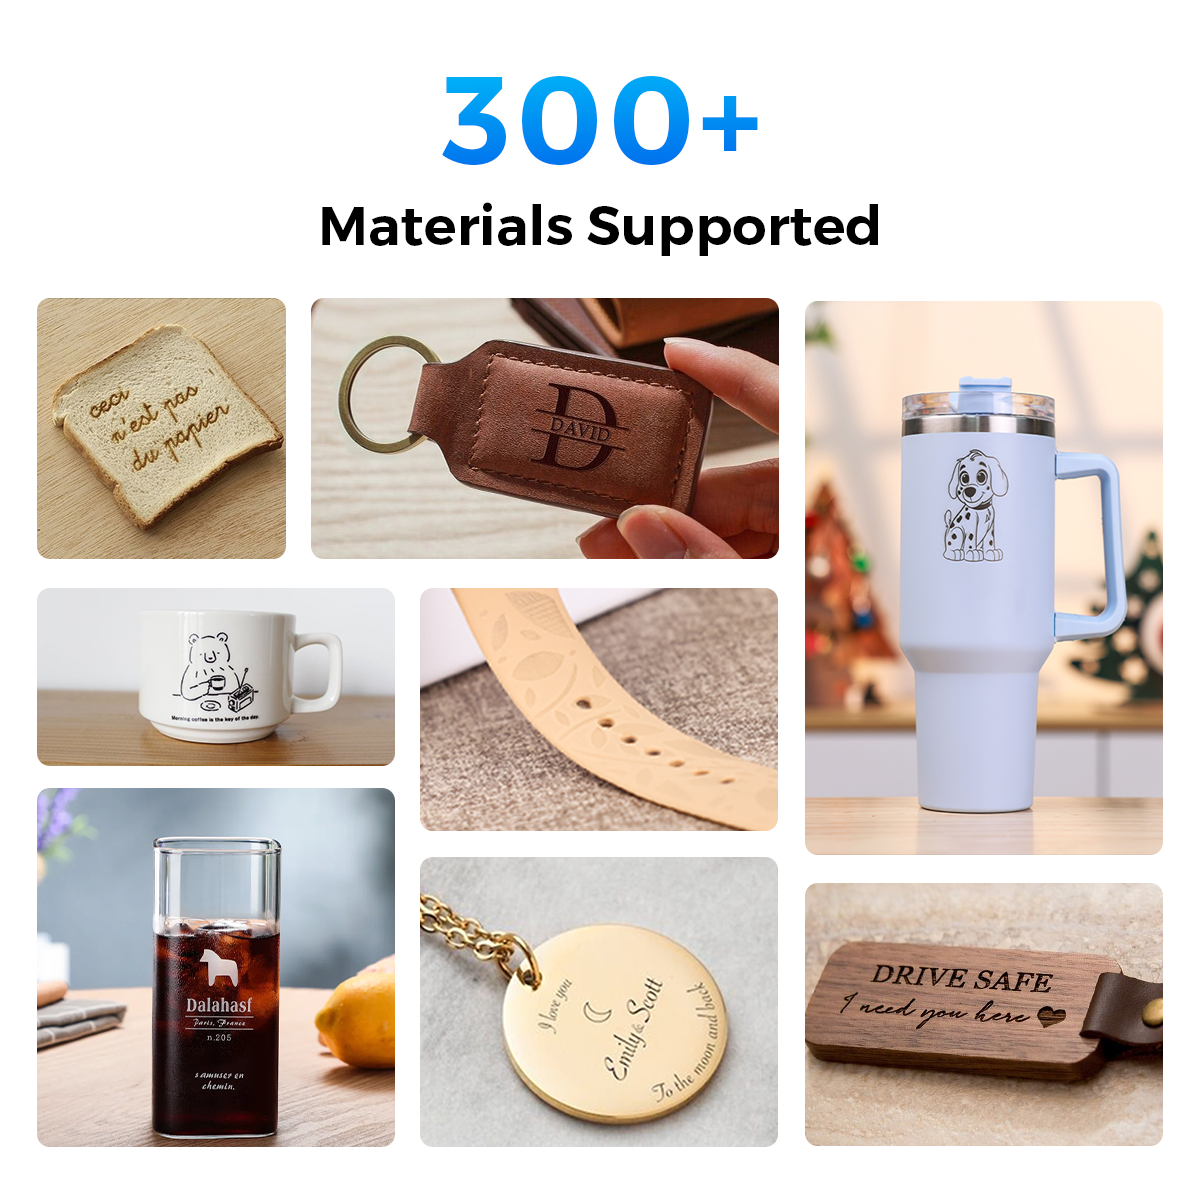

Longer Ray5 miniS Laser Engraver
FAQ
The Ray5 5W and Ray5 mini are ideal first lasers: affordable, quick to assemble, touchscreen-controlled, and powerful enough to engrave wood, leather, and acrylic beautifully — with an upgrade path as your skills grow.
Easier than most people expect. Ray5 machines arrive partially assembled and take about 15–30 minutes to set up with clear instructions and video guides — no technical background needed.
Not necessarily. Ray5 engravers support offline engraving from a TF card via the built-in touchscreen — prepare your file on any computer, then run the job directly on the machine.
Start with the free LaserGRBL (Windows) or LONGER’s own software for simple drag-and-drop jobs. When you’re ready for advanced control, LightBurn is the industry standard and fully supported.
Basswood plywood is the most forgiving — cheap, cuts cleanly, and engraves with great contrast. Leather patches, kraft paper, and coated slate are also beginner-friendly. Avoid PVC and unknown plastics.
Yes with basic habits: wear the included goggles, engrave in a ventilated area (or use an enclosure with a smoke purifier), keep a safe distance while running, and never leave the machine unattended.
The Ray5 mini fits on a small desk; the standard Ray5 needs a sturdy table of roughly 60×60cm. Both are light enough to store away between sessions.
Yes — many Etsy sellers started exactly here. Personalized gifts, keychains, coasters, and wedding items sell well, and a Ray5 10W handles both engraving and light cutting for saleable products.
Coasters, keychains, name signs, cutting boards, and photo engravings on wood. Start with LONGER’s DIY material kits, which bundle a variety of beginner-ready blanks and sheets.
LONGER provides setup videos and guides, and the large Ray5 user community shares free project files, material settings, and troubleshooting help — you’re never learning alone.