
The Longer Ray5 laser engraver uses an MKS DLC32 mainboard with wireless connectivity, microSD card support, and a touchscreen interface. It also supports full remote control through the MKSLaser application on Android and iOS devices.
MKSLaser allows users to remotely control key engraving functions, including machine movement, laser on/off control, file transfer, job start, and real-time monitoring.
This guide explains how to connect and use MKSLaser to control the Ray5 laser engraver via a local network. For stable remote control, ensure that the Ray5 laser engraver and your smartphone remain connected to the same local network during operation.
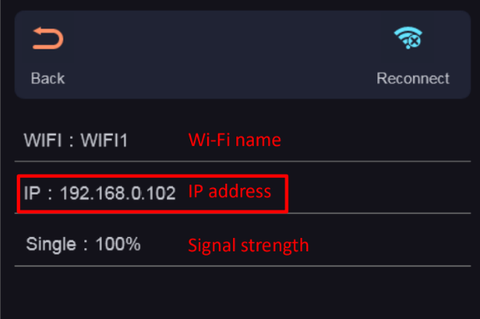

Note: The IP address of Longer Ray5 may change frequently, so it is recommended that you set an IP RESERVATION for the Mac-Address of Ray5 within the DHCP parameters of your Router/Access Point so that you always get the same IP address at each subsequent connection.
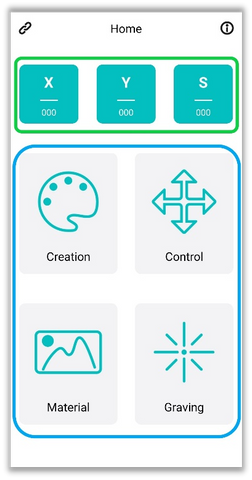
The MKSLaser Home screen shows at the top the current X/Y coordinates and the S intensity of the laser, while at the bottom there are four large buttons to access the corresponding submenu:
1.Creation
It allows you to process an image and slice it for engraving exactly as you do when using desktop LaserGRBL/LightBurn, in an easy and comfortable way from your smartphone.
A. Import an image or take a photograph, which can be edited in several ways
B. In the next step you can edit the image by manually setting brightness, contrast, and other effects.
C. In the last step you can configure file name change, image size, engraving speed, laser power, M3/M4 mode, and more.
D. After finishing adjusting the parameters, you can slice and upload it via WiFi to the Ray5 microSD. After Ray5 has received it successfully, you will enter the engraving page from which you can monitor the progress of the processing status, stop processing, or change the power and speed of processing.

2.Control
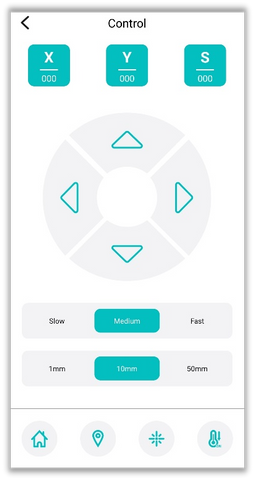
It allows you to move the laser module within the processing area and different steps and speeds of movement can be set; you can also go back to homing, define a new homing position, turn the laser beam on and off, etc.
3.Material
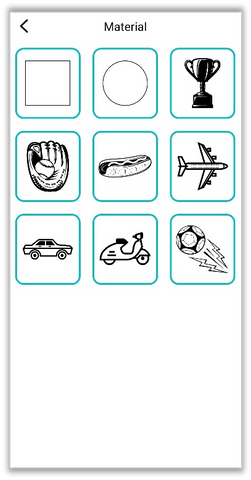
There are some graphic samples to be used to determine the best parameters for engraving on different materials. Once you have chosen the image to carry out the various tests, set the various parameters (refer to the "Creation" paragraph).
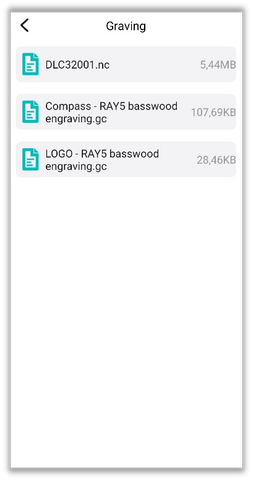
4.Graving
The list of files on the microSD card inserted inside Longer Ray5 is shown, and you can select a file to engrave.
Final Notes
If connection issues occur, check the device IP address and network settings, and make sure the MKSLaser app is properly configured. Using a stable network setup helps ensure smooth communication and reliable performance during engraving tasks.
Share:
Printing Jerk calibration:Complete Beginner Guide for Better 3D Prints
Air Assist Kit installation for Longer Ray5 10W