
Introduction
When using the LONGER Nano Series laser engraver with a rotary attachment, correct focusing is essential for achieving clear and accurate engraving results.
When engraving cylindrical objects such as cups, bottles, or other round materials, an incorrect focus distance may cause blurry patterns or uneven engraving results.
This guide explains how to properly adjust the focus when using the LONGER Nano Series with the rotary clamp. You can complete the focusing process using either the ruler method or the red laser focus method.
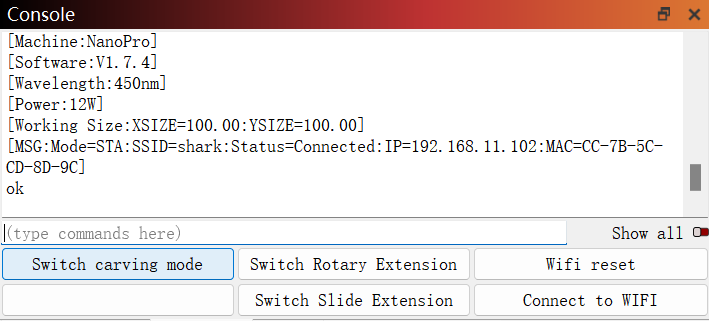
Before starting, make sure your machine is connected correctly and the rotary mode is enabled.
1、Control Clamping Pressure
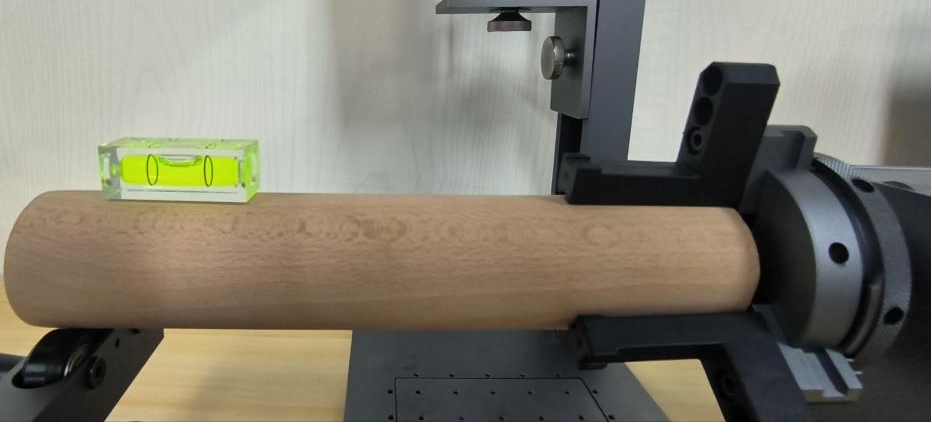
Ensure the clamping pressure is moderate when using chucks to grip the material. Excessive clamping can damage the material or deform the chuck, affecting the engraving process. On the other hand, if the grip is too loose, the material might shift or rotate unexpectedly, compromising engraving precision and quality. The grip should allow you to manually rotate the chuck while maintaining firm control over the material.
2、Avoid Excessive Depth in Clamping
Avoid clamping the material too deeply inside the chuck. Clamping too far inwards can destabilize the axis of rotation, which may result in distorted images on the engraved surface.
3、Adjust the Focus
Now it’s time to get focused! You can do this using either a ruler or the red laser light.
a) Ruler Focusing
Find the ruler in your rotary clamp accessory package (it’ll look like the one shown below).
In the LightBurn software, click “Fire” and adjust the rotary clamp until the laser is precisely aligned with the top of the material.
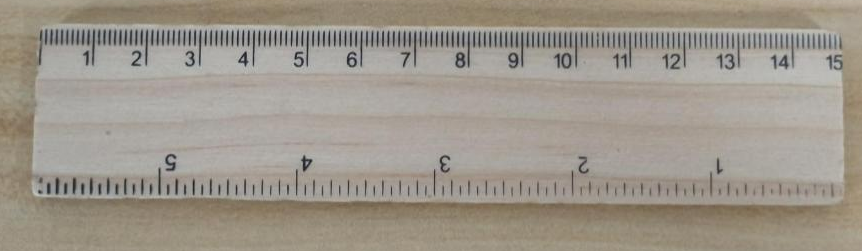
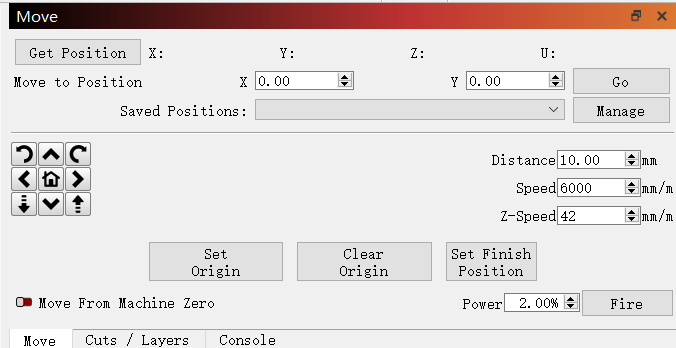
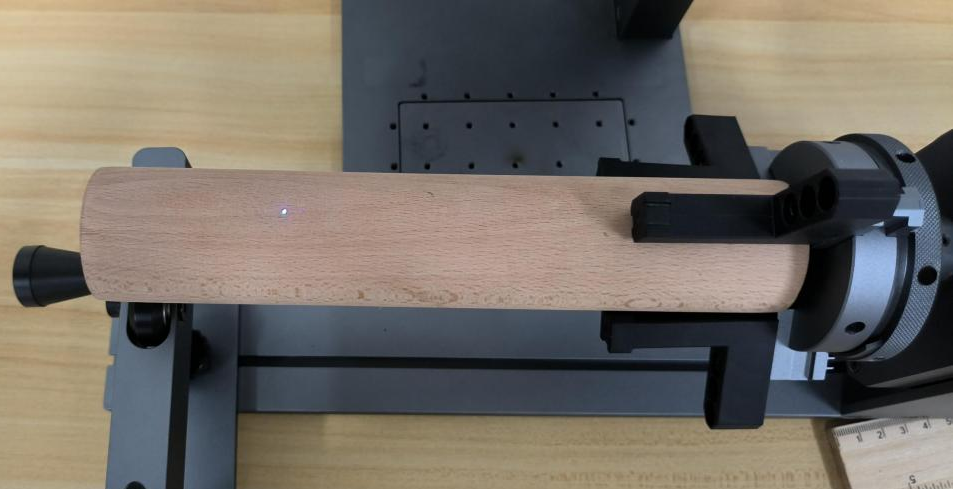
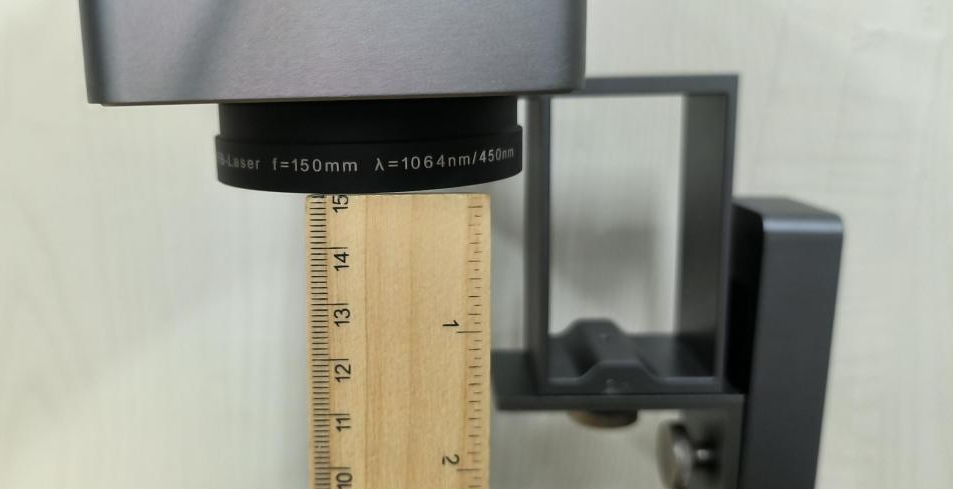
Finally, tweak the lifting platform to ensure the distance from the top of the material to the field lens is 151mm. Voila! You’ve completed the focusing process.
b) Red Laser Focusing
If you prefer using the red laser, head to the top of the machine and press the infrared focus button.
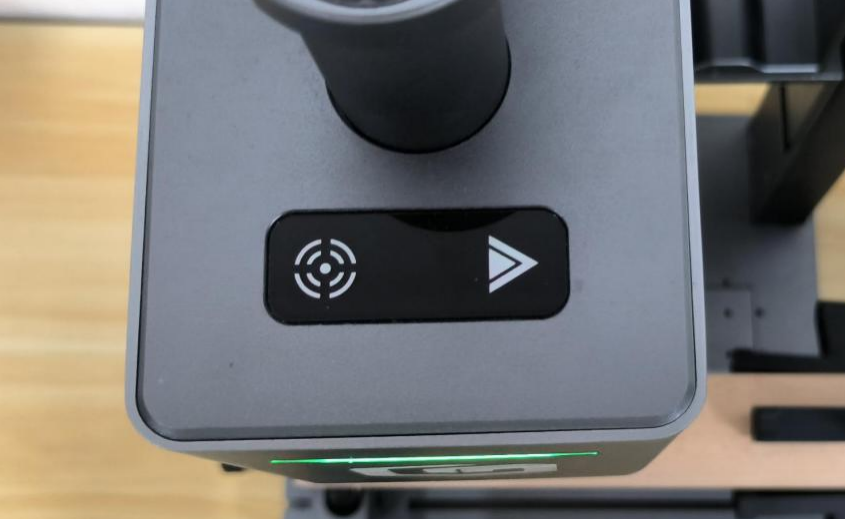
The laser head will emit two red dots. Move the rotary clamp until these red dots fall right on the top of your material.Adjust the lifting platform until the two red dots overlap, and just like that, you’ve adjusted the focus!
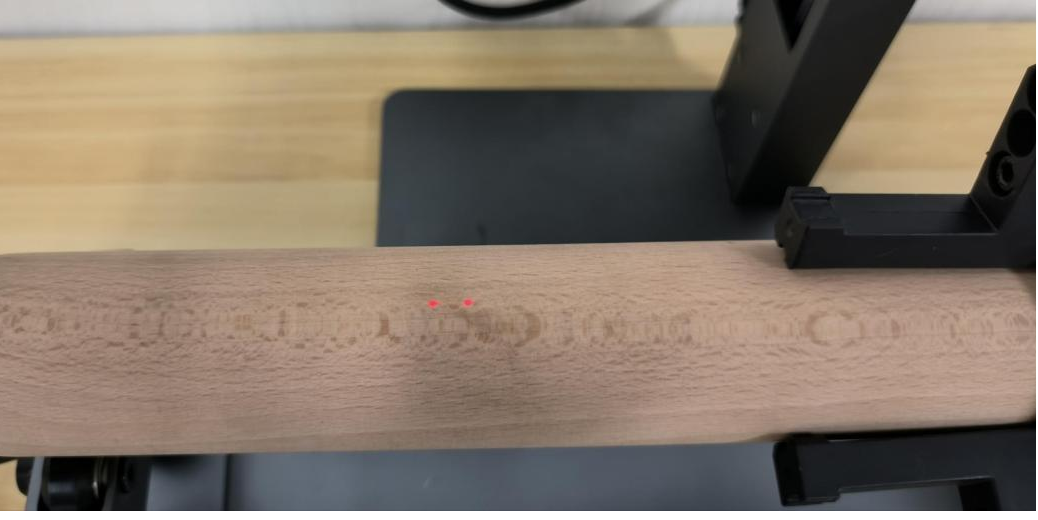
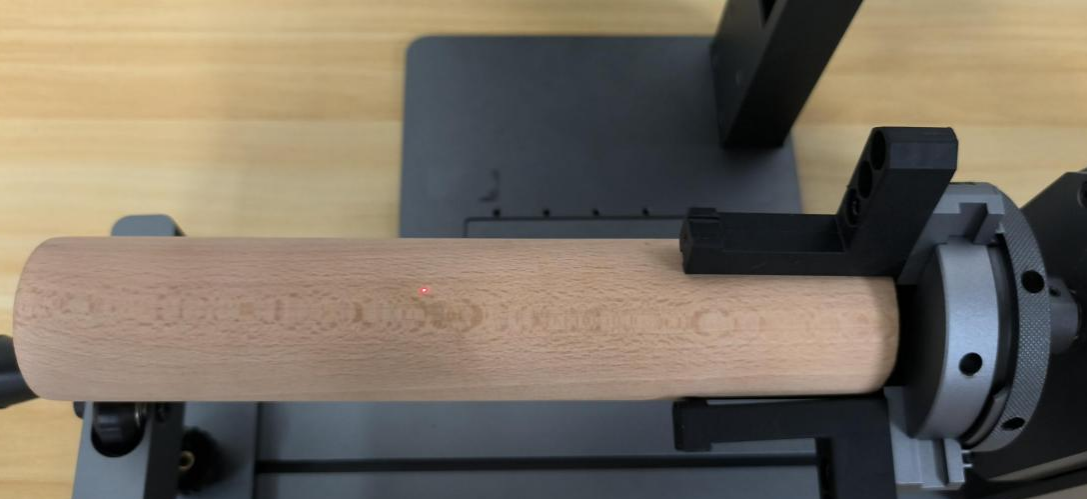
Next, go back to the LightBurn software, click “Fire” again, and move the rotary clamp to ensure the blue laser is hitting the top of your material.
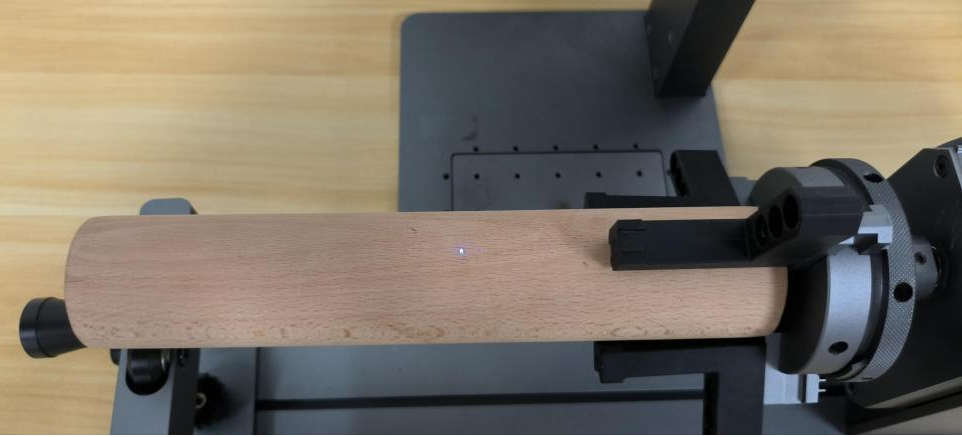
Finally, click “Preview” to confirm your engraving area, then hit “Start” to begin engraving. Don’t forget to wear your protective goggles during the engraving process!
Conclusion
Proper focusing is an important step for achieving high-quality rotary engraving results with the LONGER Nano Series.
By correctly securing the material, leveling the rotary attachment, and adjusting the focus distance, you can improve engraving clarity and reduce positioning errors.
Whether you use the ruler method or the red laser focusing method, following these steps will help you achieve cleaner and more precise engravings on cylindrical objects.
Partager:
Power vs Speed Test with LaserGRBL for Longer Ray5 & B1
Câbles USB-C pour Nano plus longs