
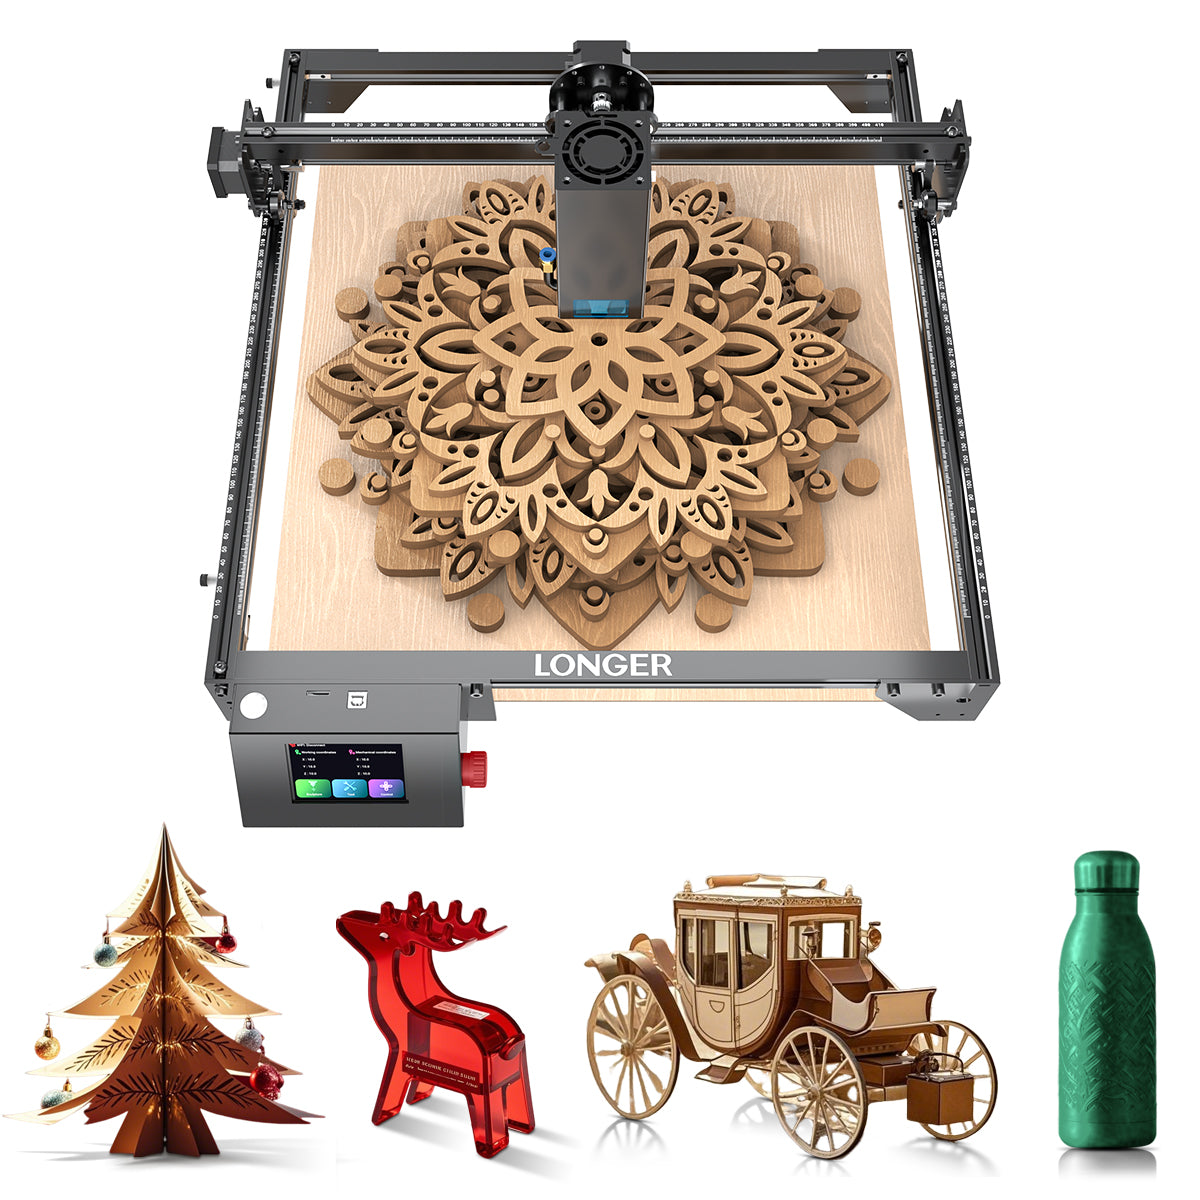
The LONGER Ray5 20W laser engraving machine is a powerful and versatile machine widely used for cutting and engraving wood, acrylic, leather, and other materials. However, like any precision laser system, users may occasionally encounter performance or workflow issues during operation.
Understanding how to quickly identify and resolve these common problems is essential for maintaining stable output quality, improving engraving accuracy, and ensuring long-term machine reliability.
This troubleshooting guide covers the most frequently reported issues with the Ray5 20W, along with practical solutions to help you restore optimal performance.
Poor Cutting Precision
One of the most common issues is inaccurate or inconsistent cutting results.
Possible causes:
- Loose belts or mechanical components
- Improper focus adjustment
- Incorrect machine calibration
- Unstable working surface
Solutions:
- Tighten belts and check all mechanical connections
- Recalibrate the laser module and ensure proper focusing
- Level the working bed before operation
- Secure the material firmly to prevent movement
Maintaining mechanical stability is key to achieving precise cutting results.
Insufficient Engraving Depth
If engraving appears too light or shallow, the issue is often related to energy output or settings.
Possible causes:
- Low laser power setting
- Incorrect speed configuration
- Dirty or obstructed lens
Solutions:
- Increase laser power gradually
- Reduce engraving speed for deeper marking
- Clean the laser lens regularly to ensure optimal beam transmission
Proper parameter adjustment is critical for achieving consistent engraving depth.
Software Connection Issues
Connectivity problems between the laser cutter and control software can interrupt workflow.
Possible causes:
- Faulty USB cable or connection port
- Driver installation errors
- Incompatible software version
Solutions:
- Replace or reconnect USB cables
- Reinstall device drivers
- Ensure software is updated and compatible with the Ray5 system
Stable communication between software and hardware is essential for reliable operation.
Burn Marks or Excessive Charring
Burnt edges or excessive charring can affect the quality of finished work.
Possible causes:
- Excessive laser power
- Slow engraving speed
- Poor airflow or ventilation
Solutions:
- Reduce power settings appropriately
- Increase engraving speed
- Improve ventilation or use an exhaust system
Balancing power and speed is key to clean engraving results.
Lens Contamination or Degradation
A dirty or damaged lens can significantly reduce laser performance.
Possible causes:
- Dust buildup during operation
- Smoke residue accumulation
- Lack of regular maintenance
Solutions:
- Clean the lens using recommended cleaning tools
- Inspect regularly for damage or wear
- Replace the lens if necessary
Routine maintenance ensures long-term performance stability.

Conclusion
While the LONGER Ray5 20W laser cutter is designed for high performance and reliability, achieving consistent results depends on proper maintenance, correct parameter settings, and stable machine calibration.
Most common issues—such as cutting inaccuracy, engraving inconsistency, or software connection problems—can be resolved through simple adjustments, routine cleaning, and proper configuration.
By understanding and applying these troubleshooting methods, users can reduce downtime, improve engraving quality, and ensure stable, efficient operation across a wide range of laser projects.
For best performance, always follow official machine guidelines and perform regular maintenance checks.
Cuota:
Tips for engraving glass using laser engraving machine
The Power of Precision: Understanding the Differences Between Red and Blue Laser Engraving Machines