
The LONGER Ray5 Mini Laser Engraver is a compact machine designed for everyday laser engraving projects. It works with a wide range of materials, including wood, leather, acrylic, plastic, and cardstock. When paired with LightBurn, the setup process is simple, and users can achieve accurate engraving results with just a few steps.
This guide explains how to prepare the machine, focus the laser, import your design, and complete your first engraving project using the Ray5 Mini.
1. Introduction to the RAY5 Mini
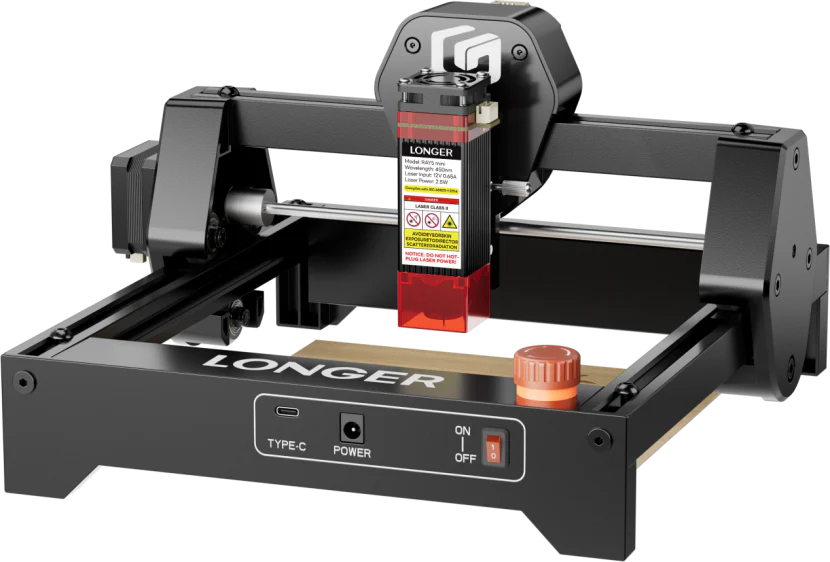
The Ray5 Mini is LONGER's newly launched small-format laser engraver. Despite its compact footprint, it is equipped with powerful engraving capabilities suited for materials such as wood, plastic, leather and acrylic. It features a precision laser module and user-friendly operation, making it suitable for both hobbyists and professionals.
2. Preparing the Machine
Before starting your engraving project, follow these steps to configure your machine:
a)Import Device Configuration
Launch LightBurn software and import the RAY5 Mini device profile (RAY5 mini.lbdev).
b)Connect the Machine
Connect the RAY5 Mini to your computer. In LightBurn, select the correct communication port. Once the console displays device information, the connection is successful.
c)Setup the Work Area
Place a metal plate or other things base under the material to be engraved. In this case, we are using red cardstock for the demonstration.
3. Focusing the Laser
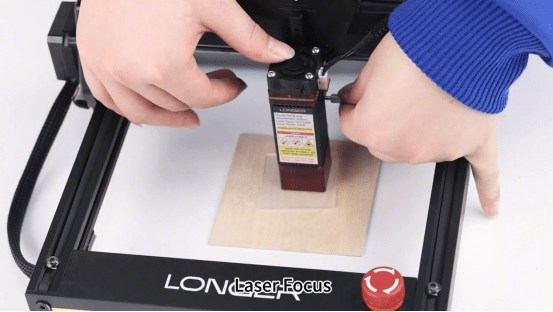
Proper focusing ensures clean and precise engravings. Here's how to focus the RAY5 Mini:
- a)Place the focus block on top of the engraving material.
- b)Loosen the thumb screw on the laser module.
- c)Allow the acrylic cover of the laser module to rest gently on the focus block.
- d)Re-tighten the thumb screw to secure the laser height.
- e)Remove the focus block. Your laser is now properly focused.
The laser is now correctly focused and ready to use.
4. Importing and Positioning the Design
a) Import Design File
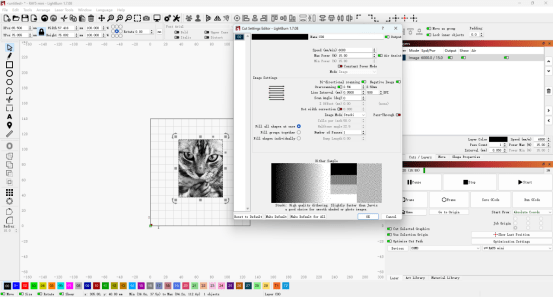
Open your desired image or vector graphic in LightBurn.
b) Configure Engraving Parameters
Set the appropriate settings for speed, power, and number of passes according to the material type and thickness.
c) Frame the Work Area
Use the “Frame” or “Border” tool in LightBurn to preview the engraving area and ensure the material is properly aligned.
5. Start Engraving
Before beginning the job, check the following:
- Make sure the material is positioned correctly.
- Confirm that the laser is properly focused.
After everything is ready, click Start in LightBurn to begin engraving.
6. Check the Finished Result
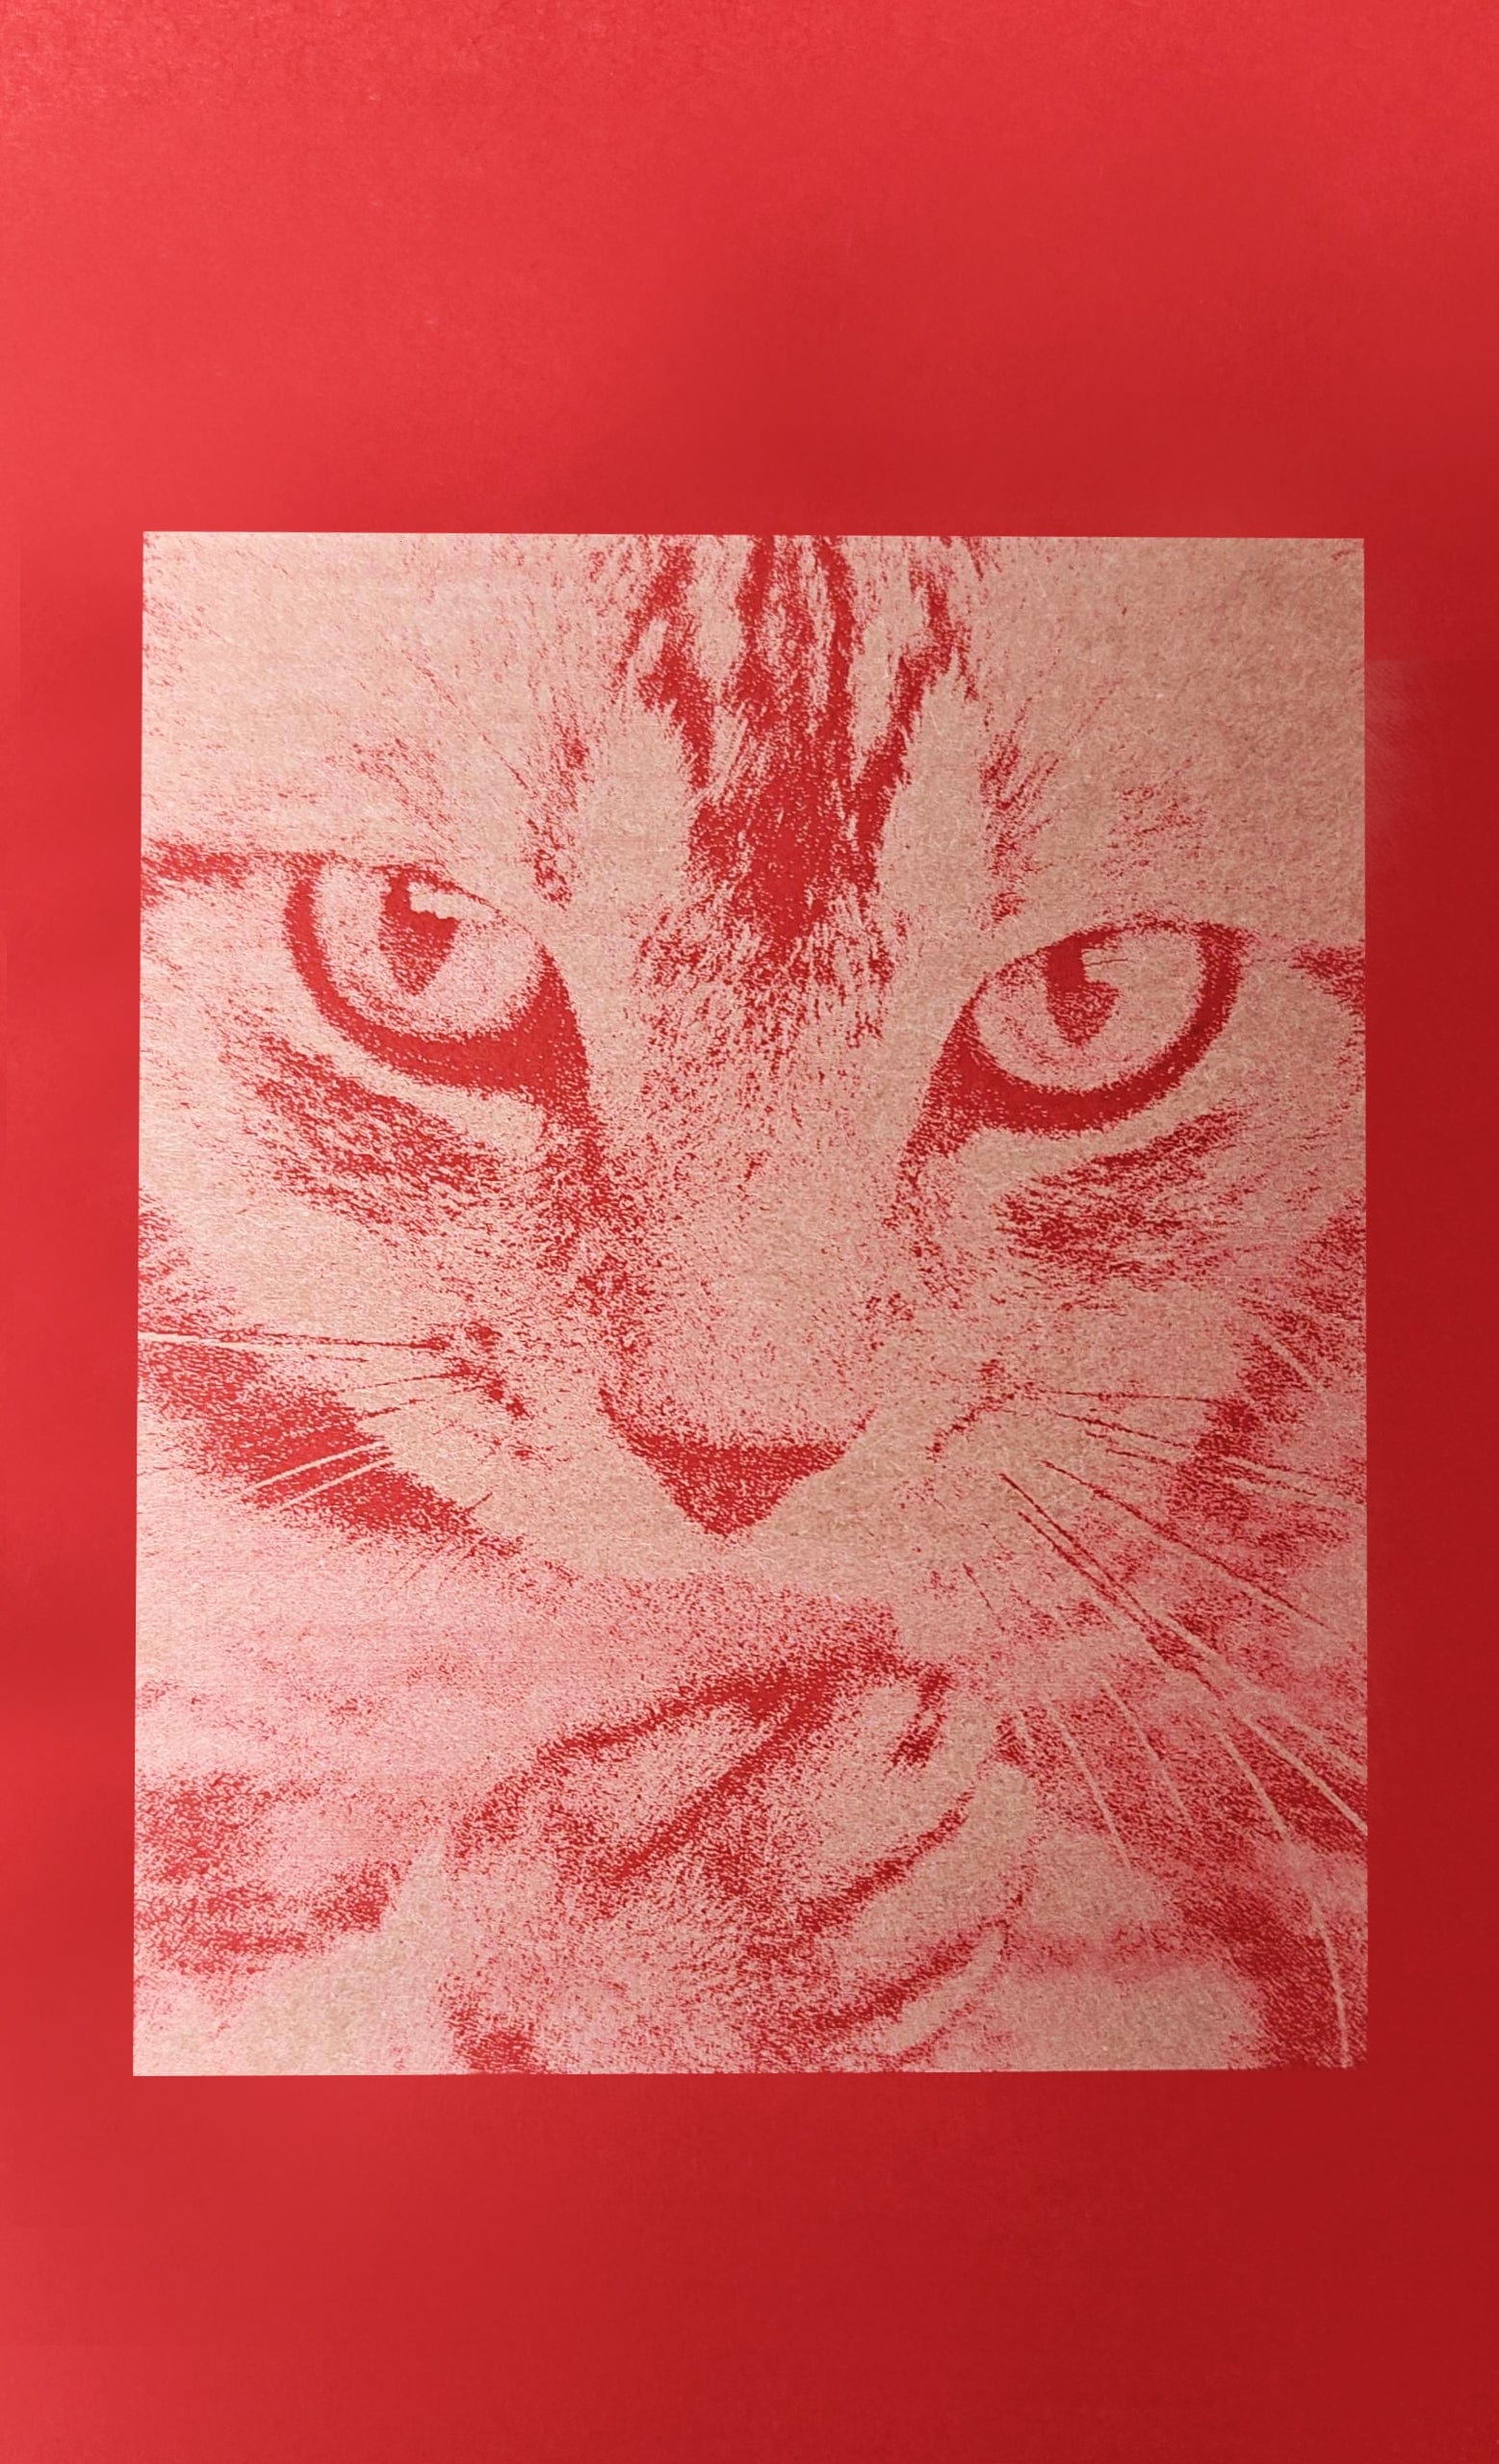
When the engraving is complete, inspect the finished design carefully. In this example, the engraved image is displayed on the red cardstock as shown below.
Conclusion
The LONGER Ray5 Mini Laser Engraver makes laser engraving simple and efficient for a variety of creative projects. After completing the basic setup in LightBurn, you can produce clean and consistent engraving results on different materials. By following the steps in this guide, you'll be ready to complete your engraving projects with confidence.
Share:
Shaking Effects Solving for Longer Ray5 5W
更详细的教程:如何解决 Lightburn V2.0 引起的问题