
The LONGER Ray5 laser engraver supports different laser modules, allowing users to choose the right power level for various engraving and cutting projects. To provide stronger cutting performance, LONGER has released a 30W laser module upgrade kit compatible with the Ray5.
This guide explains the basic installation process for the Ray5 30W laser module. Before starting, always follow the installation instructions included with the 30W kit manual.
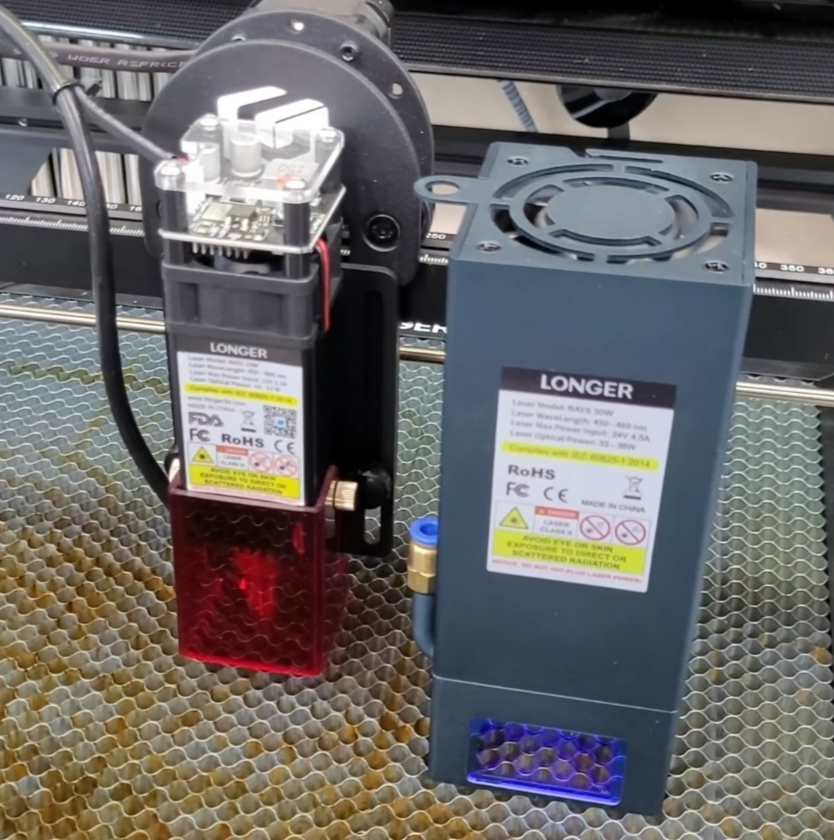
How to Install the Ray5 30W Laser Module
Step 1: Remove the X-Axis Assembly
Before installing the new module, first remove the existing X-axis components.
- Unscrew the belt and X-axis frame according to the installation guide.
- Remove the existing metal support for the laser module.
This allows access for installing the new 30W module mounting components.
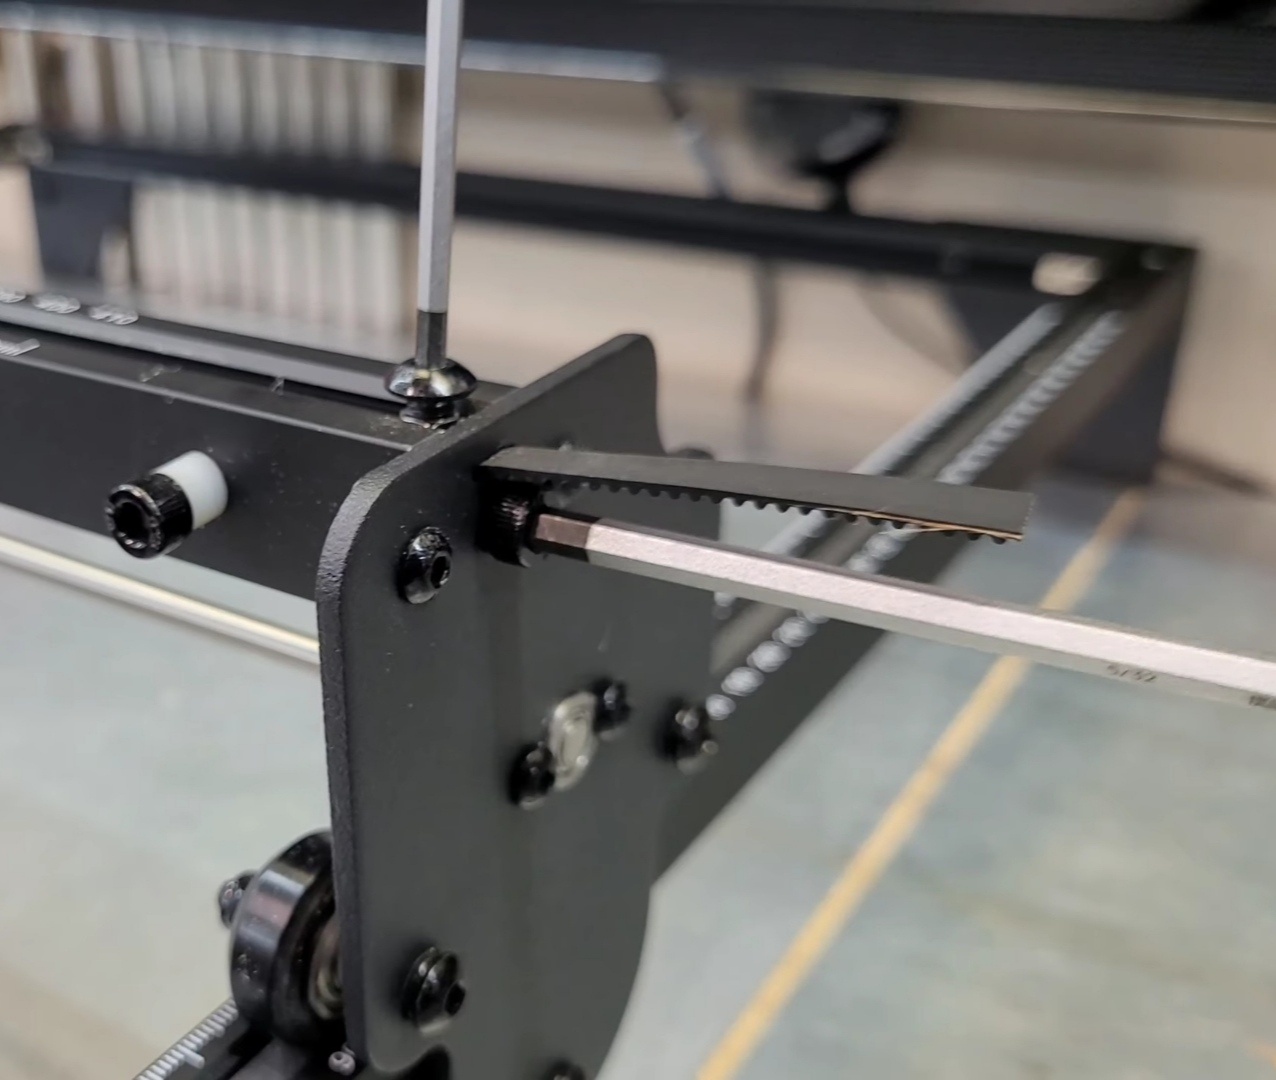
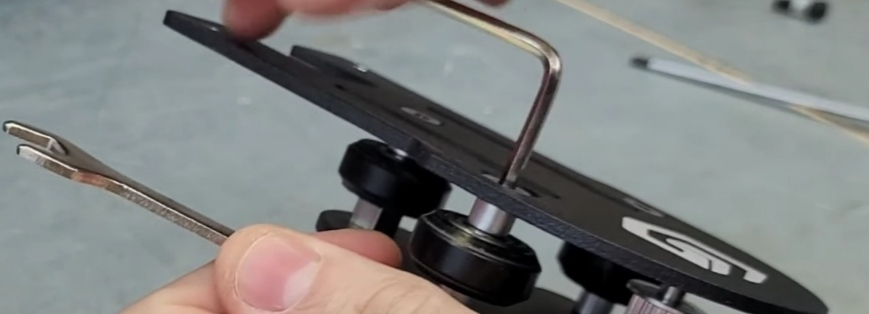
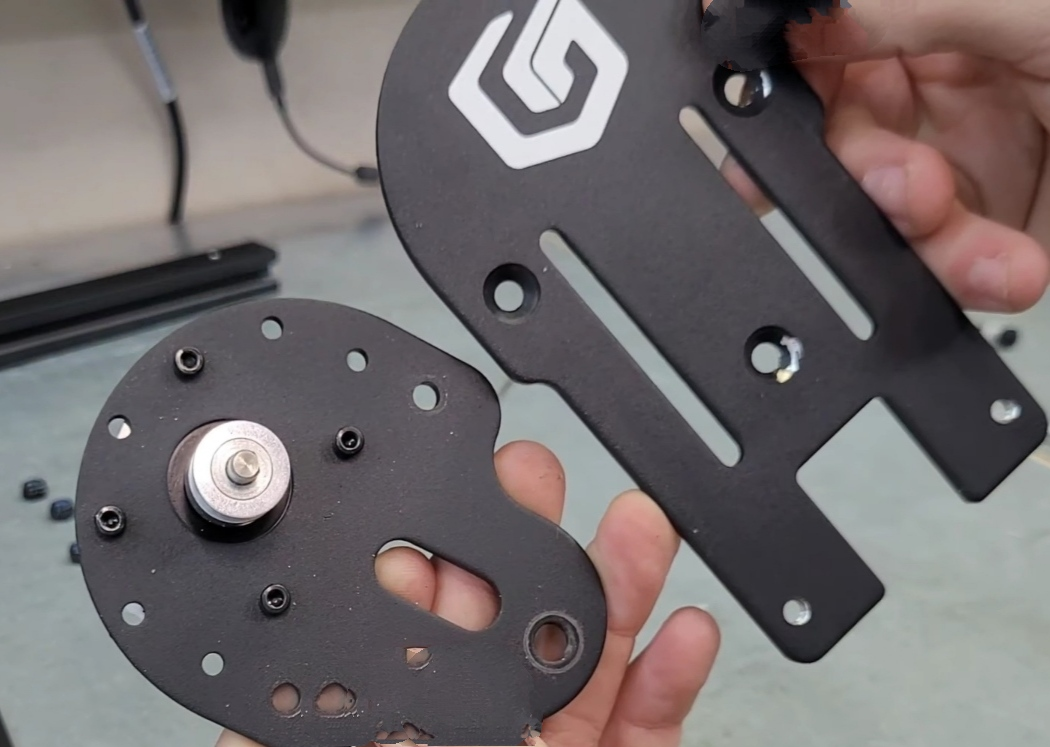
Step 2: Install the New Laser Module Plate
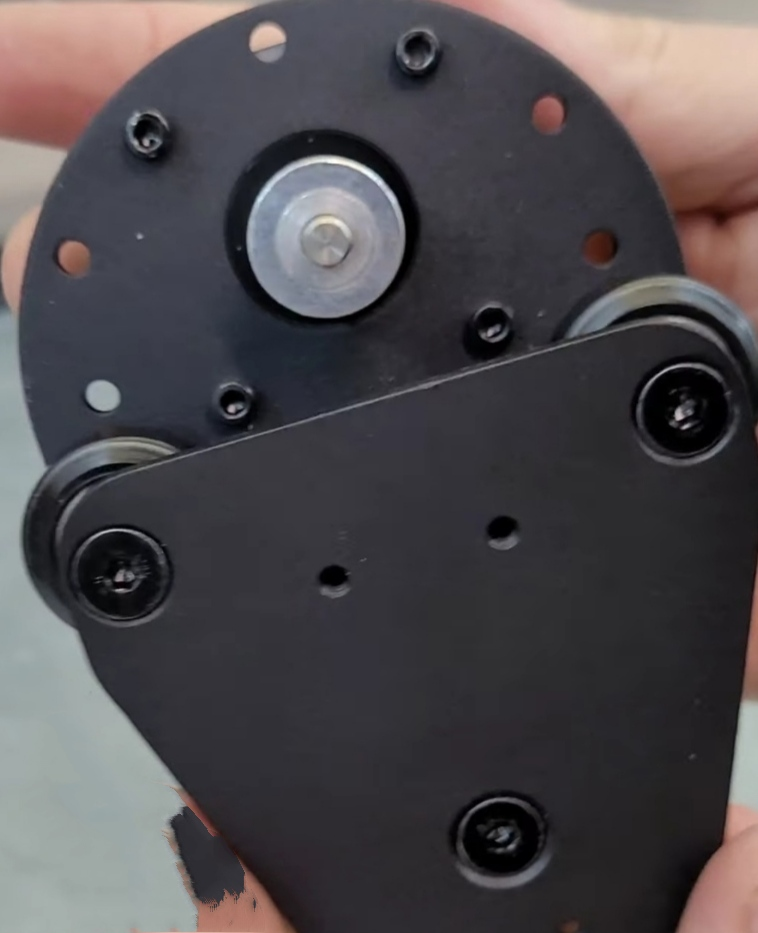
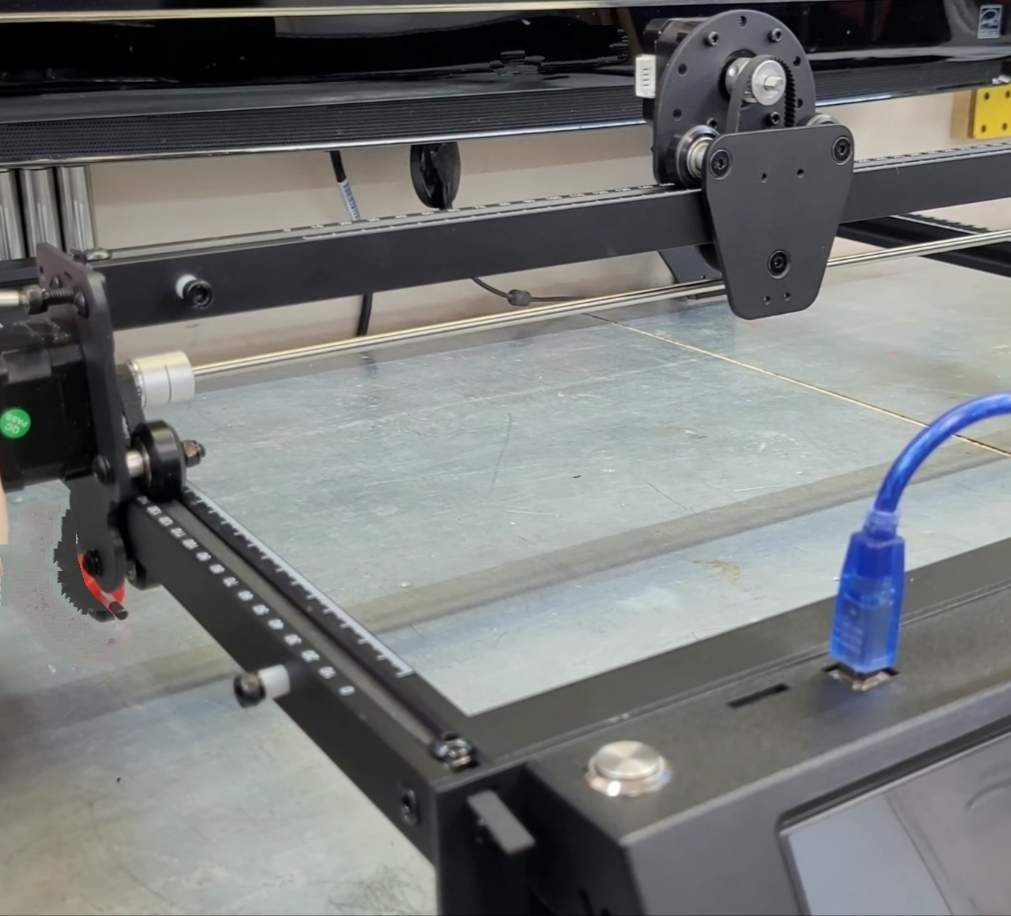
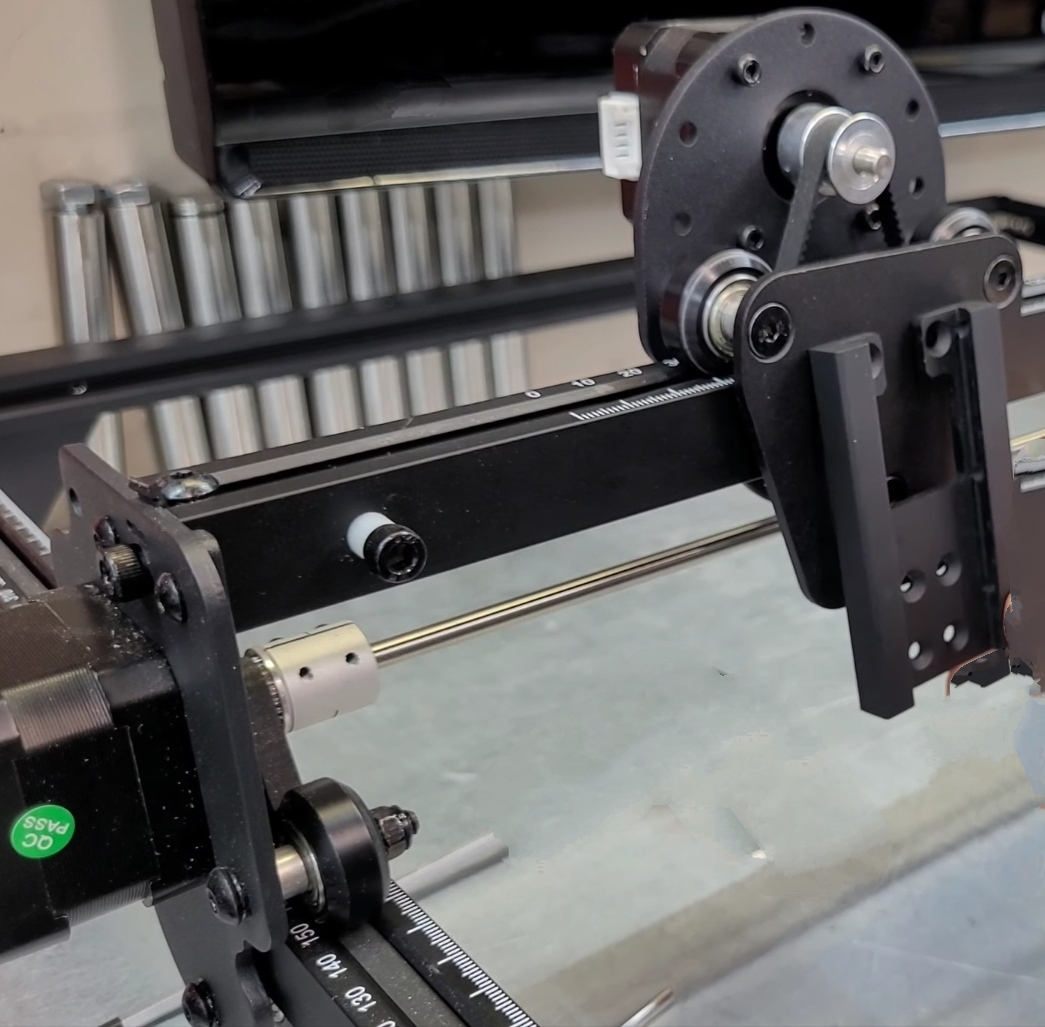
Install the new metal plate designed for the 30W laser module. After installing the plate:
- Reassemble the X-axis onto the Ray5 frame.
- Install the 30W laser module sliding mount.
Make sure all components are securely installed before continuing.
Step 3: Install the Endstops
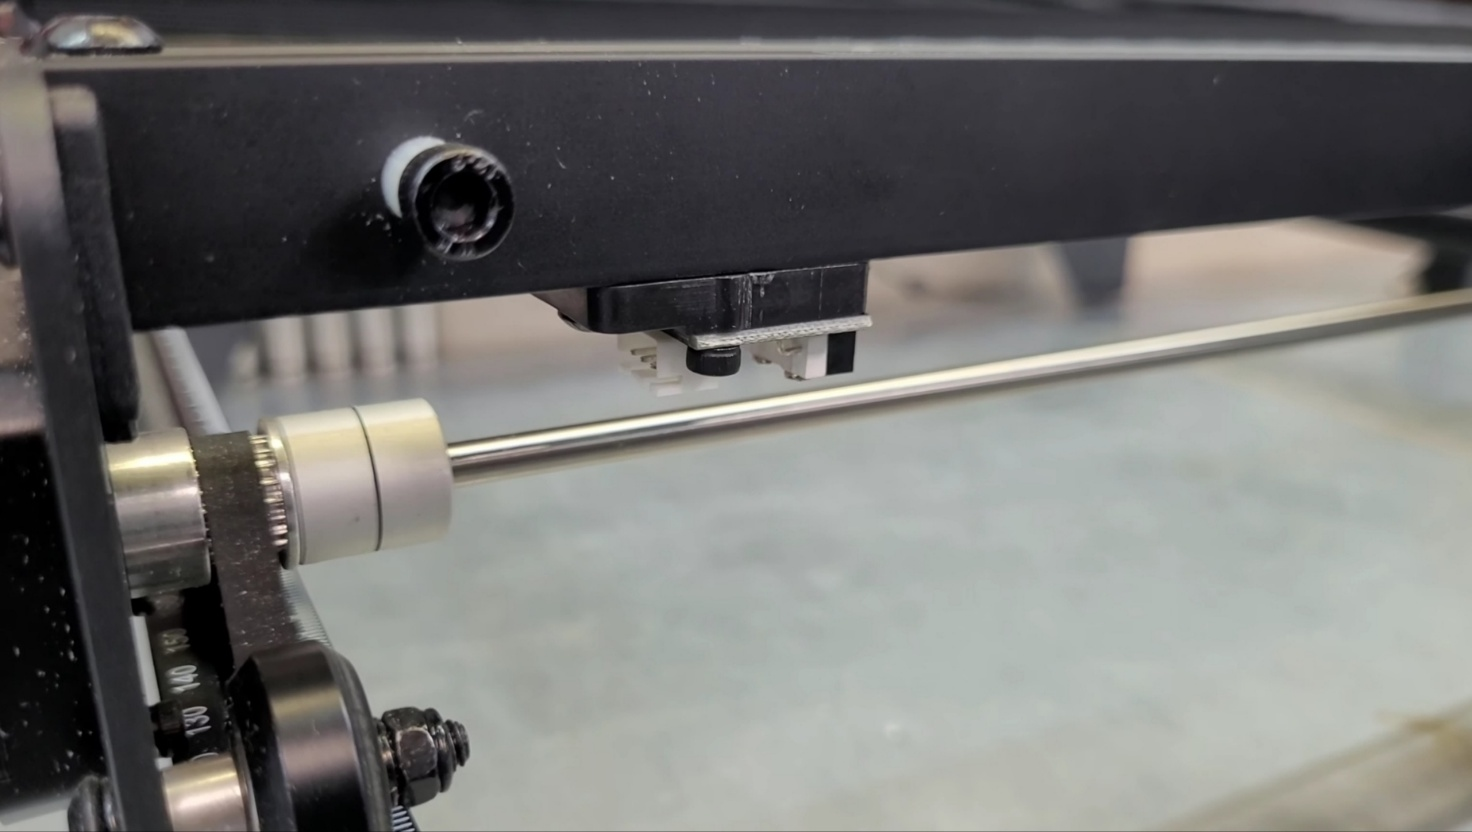
After the X-axis assembly is installed, continue with the endstop installation. Follow the 30W kit manual to ensure the components are positioned correctly.
Step 4: Replace and Connect the Cables
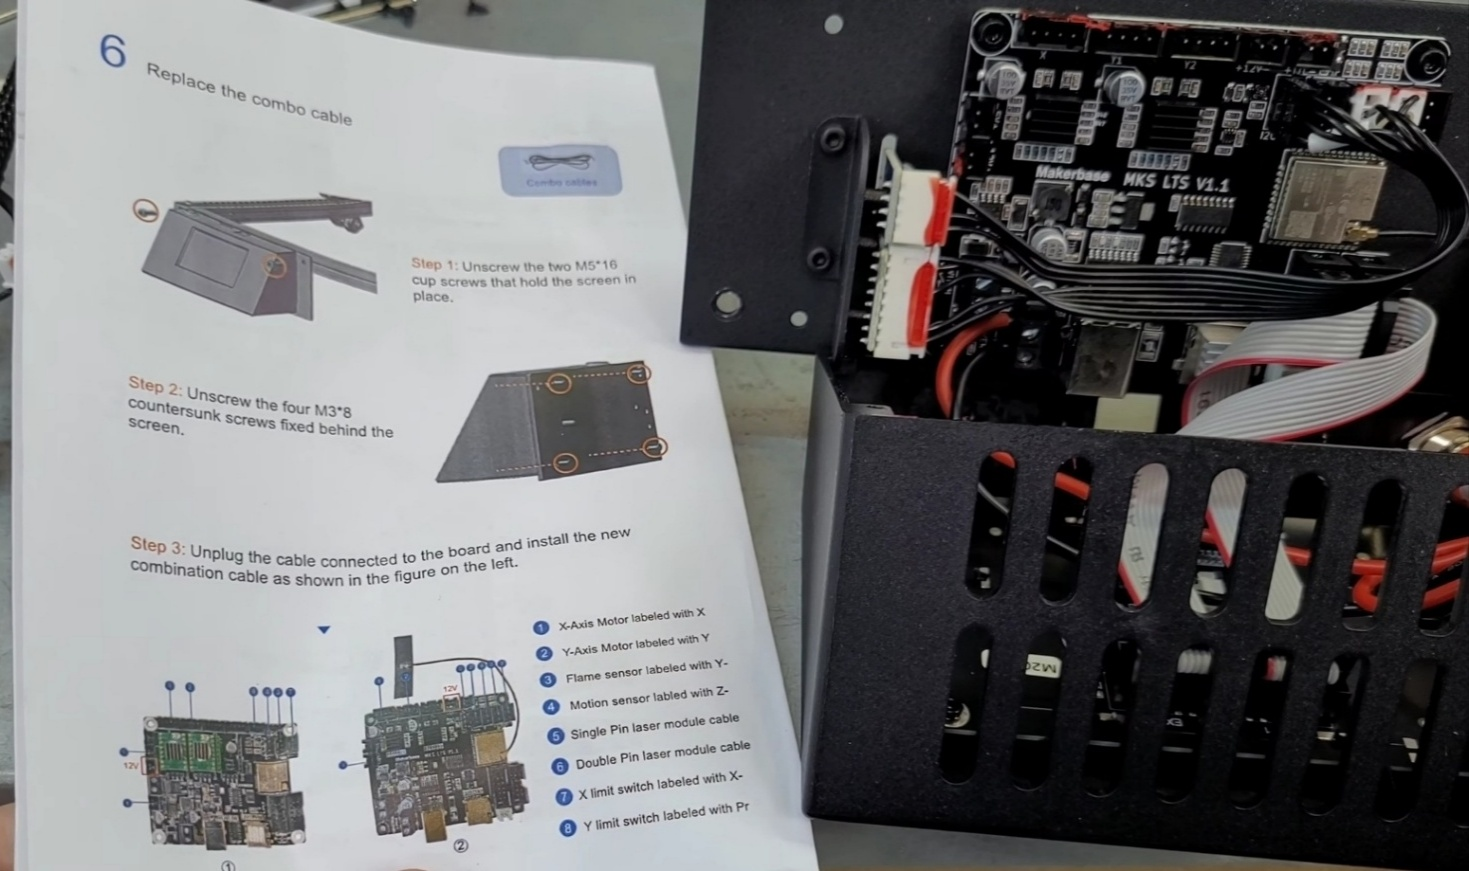
Next, remove the Ray5 controller.
- Disconnect the existing cables following the instructions in the 30W kit manual.
- Connect the new cables designed for the 30W laser module.
- Check that all connections are properly installed.
Correct cable connection is important for the laser module to operate normally.
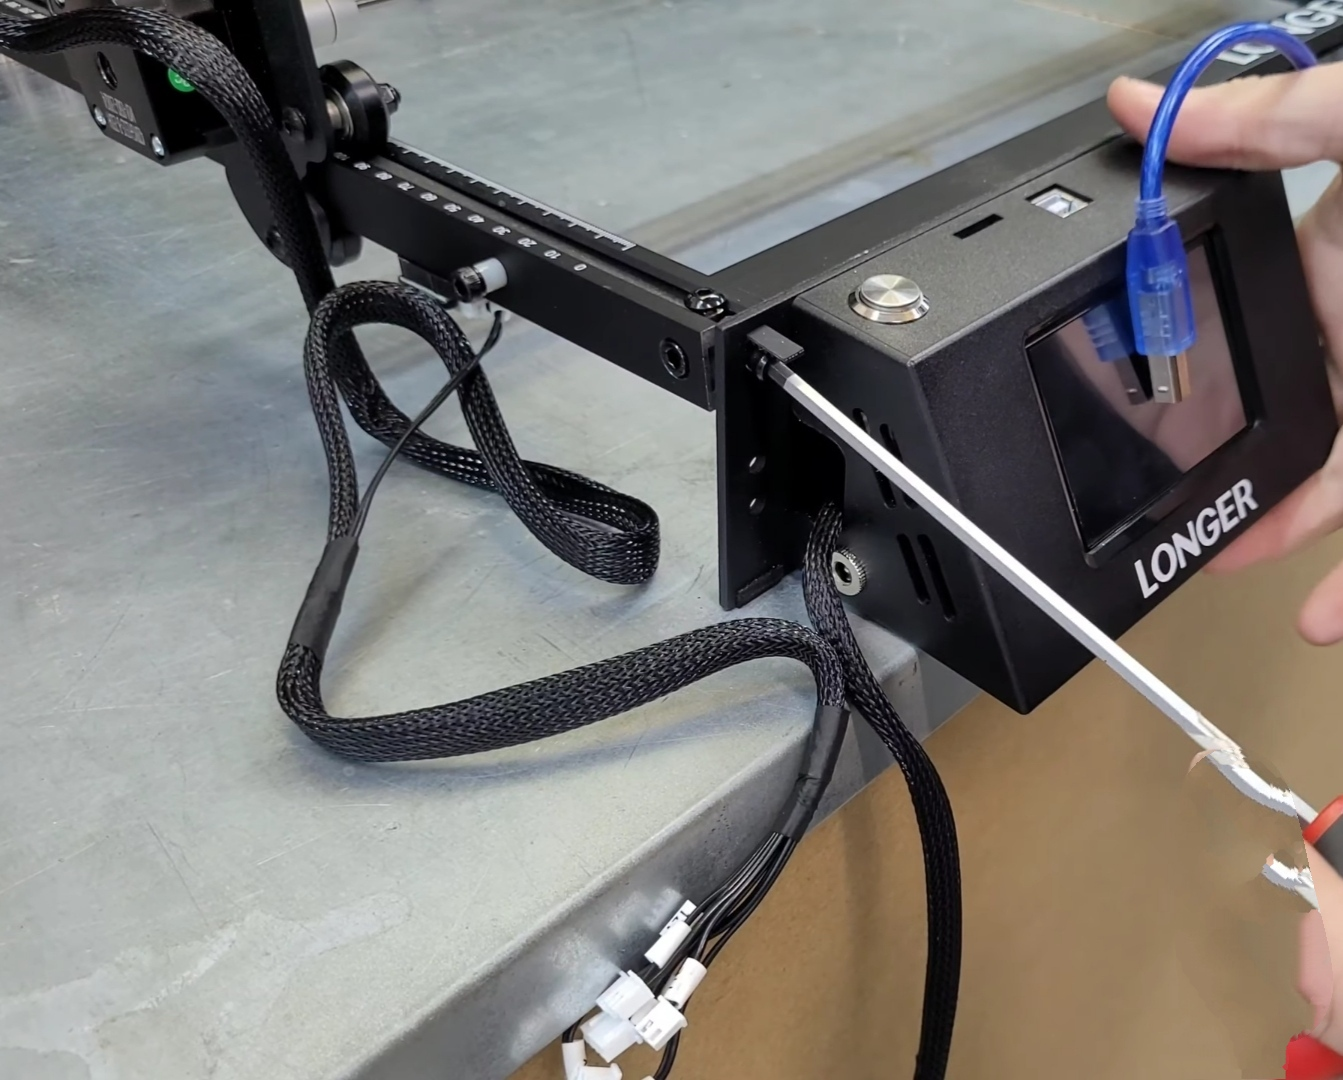
Step 5: Update the Firmware
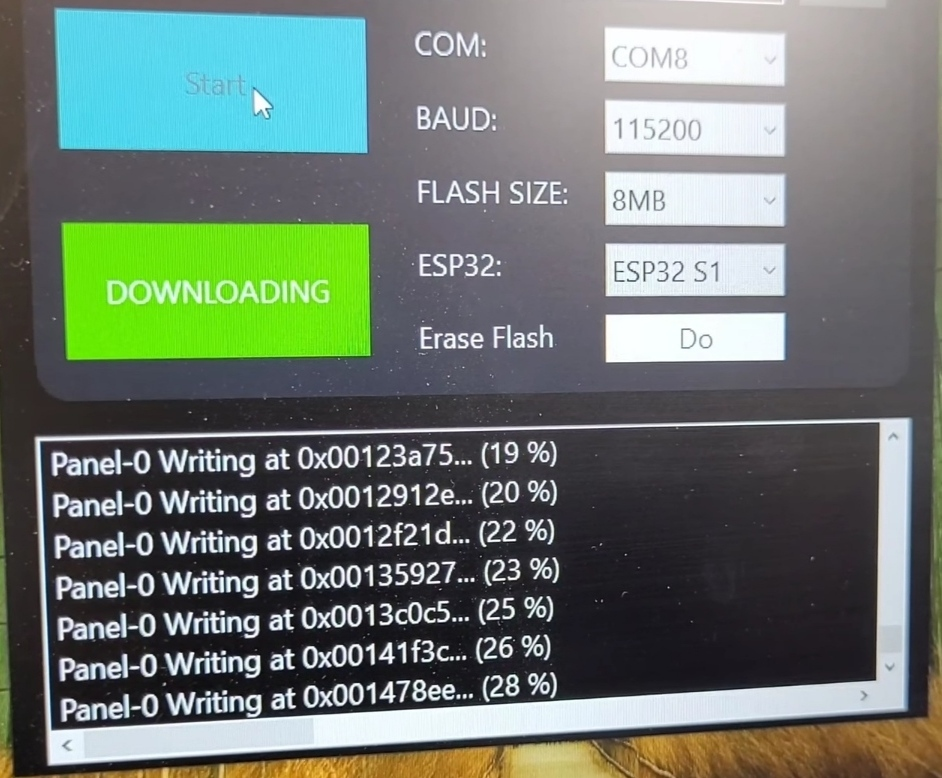
After completing the hardware installation, install the firmware designed for the Ray5 30W laser module. Once the firmware update is complete, restart the machine and check that the new module works properly.
Conclusion
Installing the LONGER Ray5 30W laser module is a practical upgrade for users who need improved laser performance for larger or more demanding projects. By following the installation steps and using the included 30W kit manual, users can complete the upgrade process and prepare the Ray5 for new engraving and cutting applications.
Always confirm that the hardware installation, cable connections, and firmware update are completed correctly before operating the machine.
Cuota:
LONGER How To: How to Add and Use the Art Library in LightBurn
LONGER How To: Make a Custom Rubber Stamp with the Ray5 10W Laser Engraver